Appearance
Freshdesk
Want the overview first? See the Freshdesk integration overview.
How to set up
Configuration is per-project in Ybug. To integrate your project with Freshdesk, go to your dashboard and follow these simple steps:
1. Go to the Integrations section in your project settings.
2. Click the On/Off switch in the Freshdesk row.
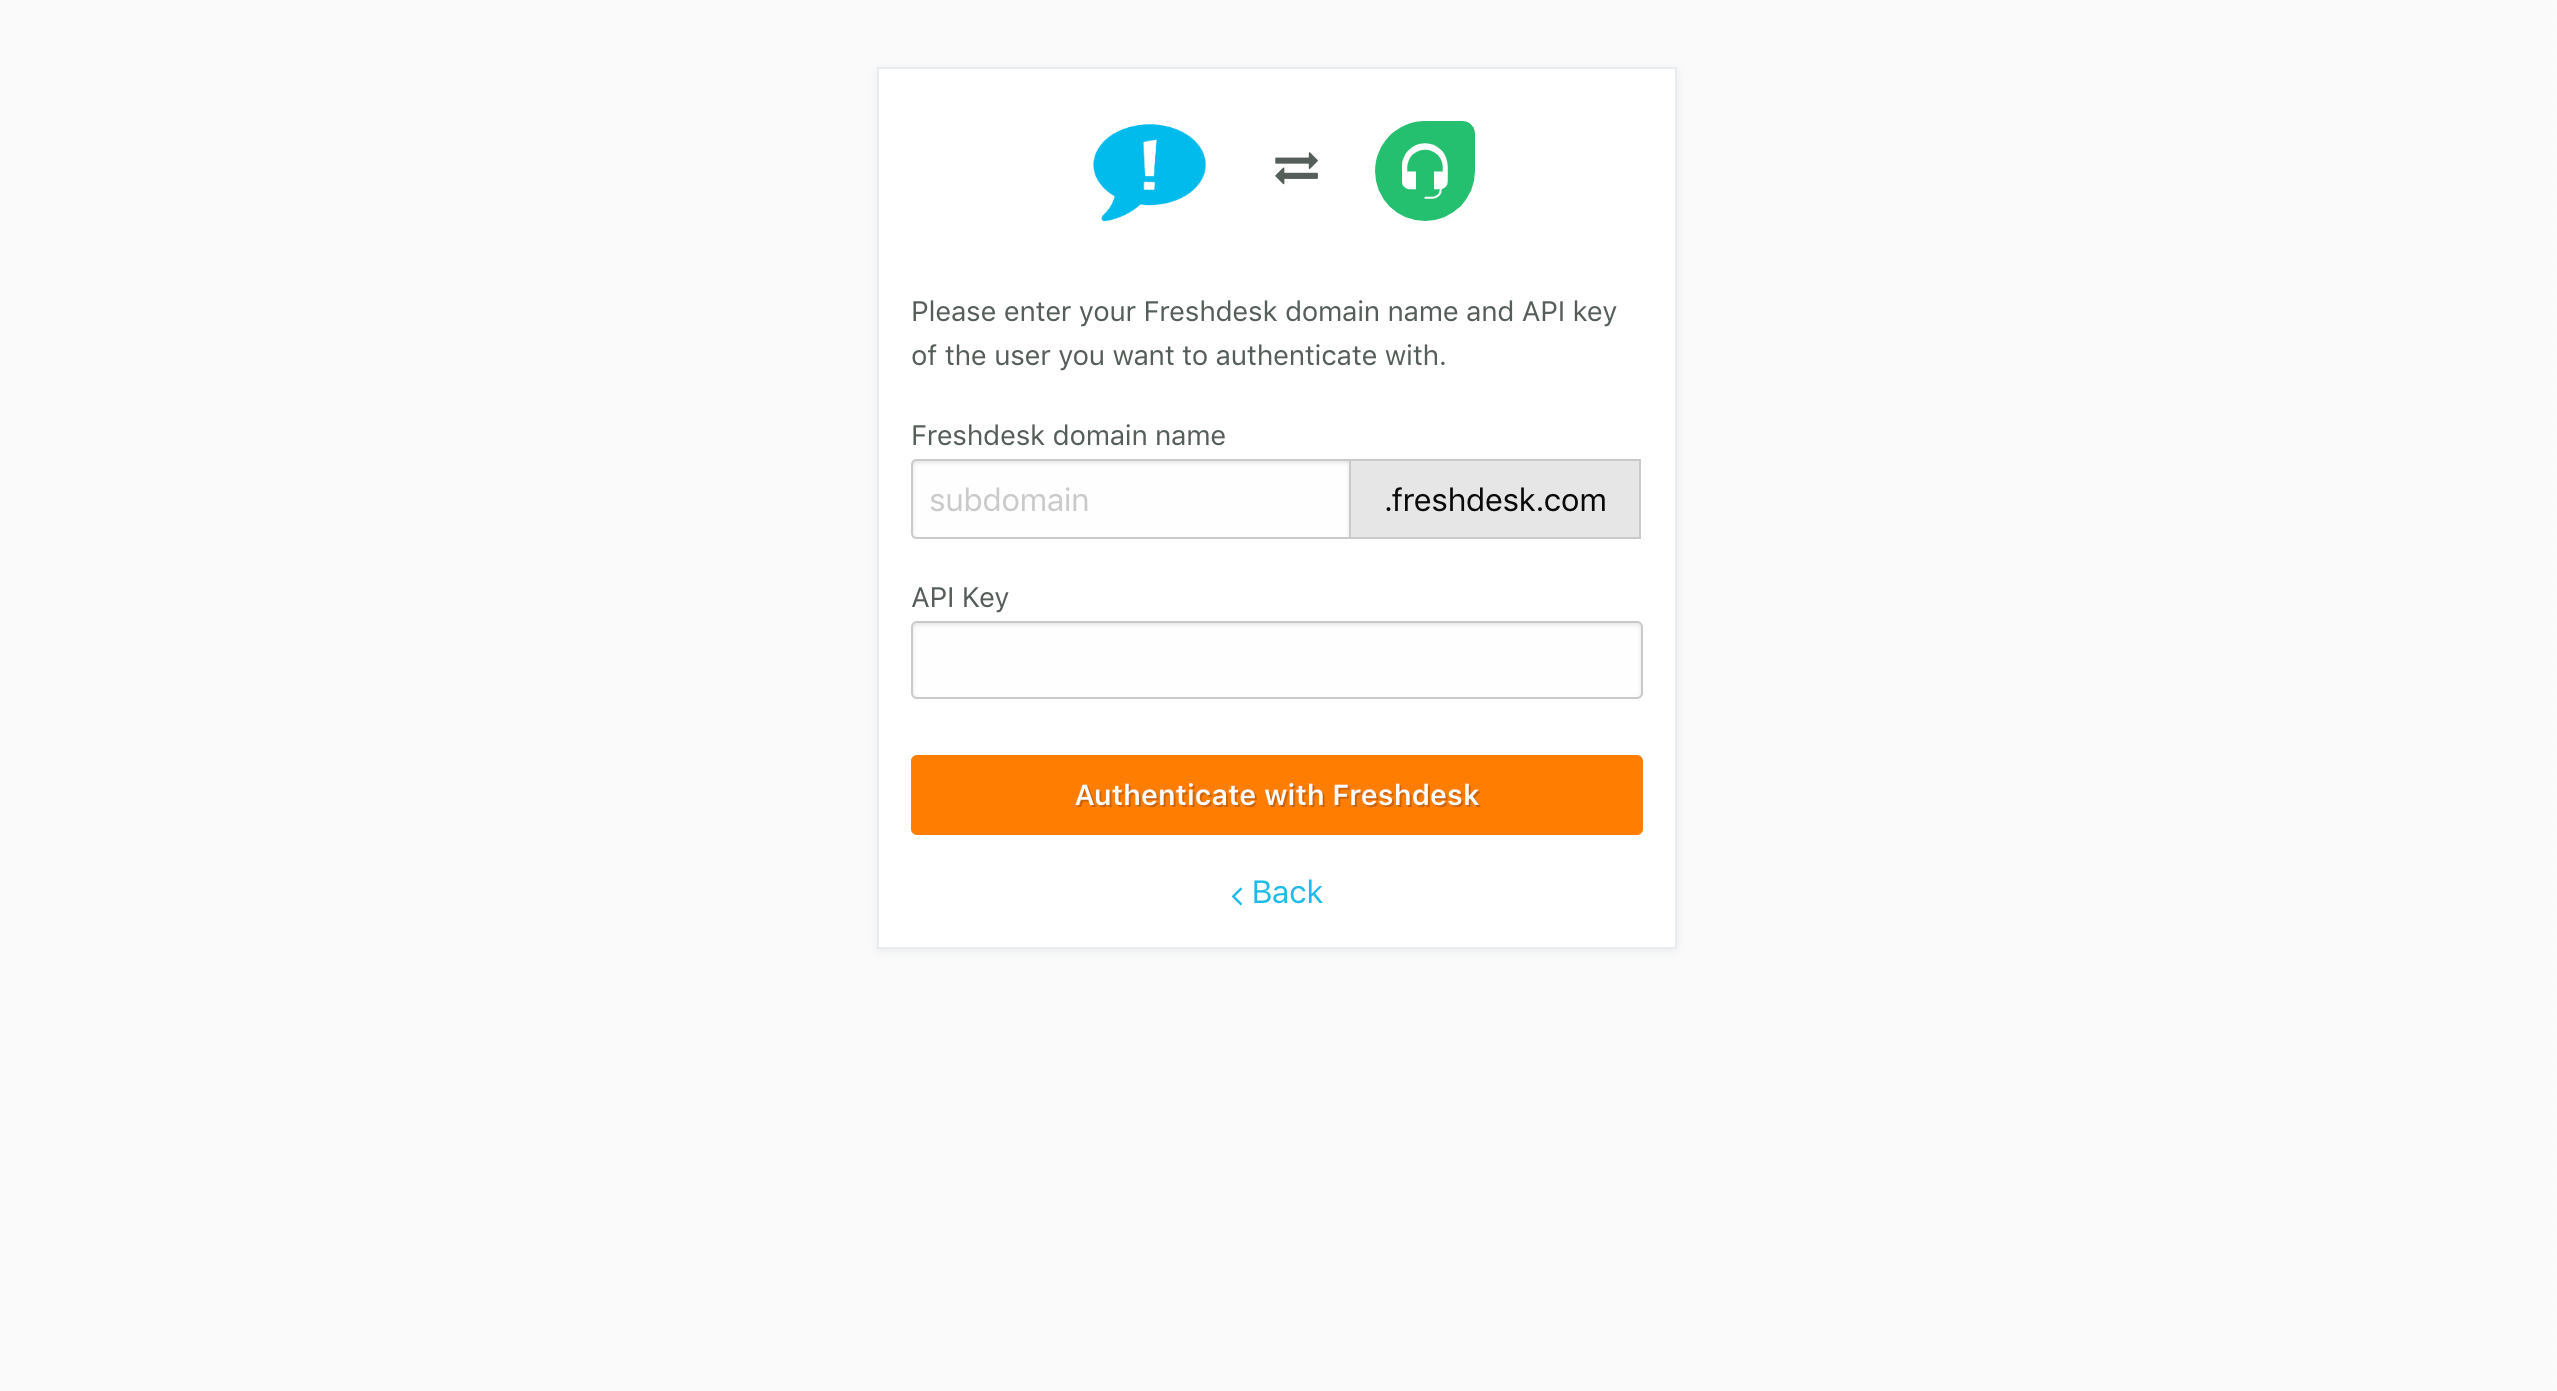
3.1 Enter your Freshdesk subdomain (i.e. enter subdomain if your Freshdesk URL is https://SUBDOMAIN.freshdesk.com).
3.2 Enter your API Key and click the Authenticate button. You can get your API Key in your Freshdesk profile settings.
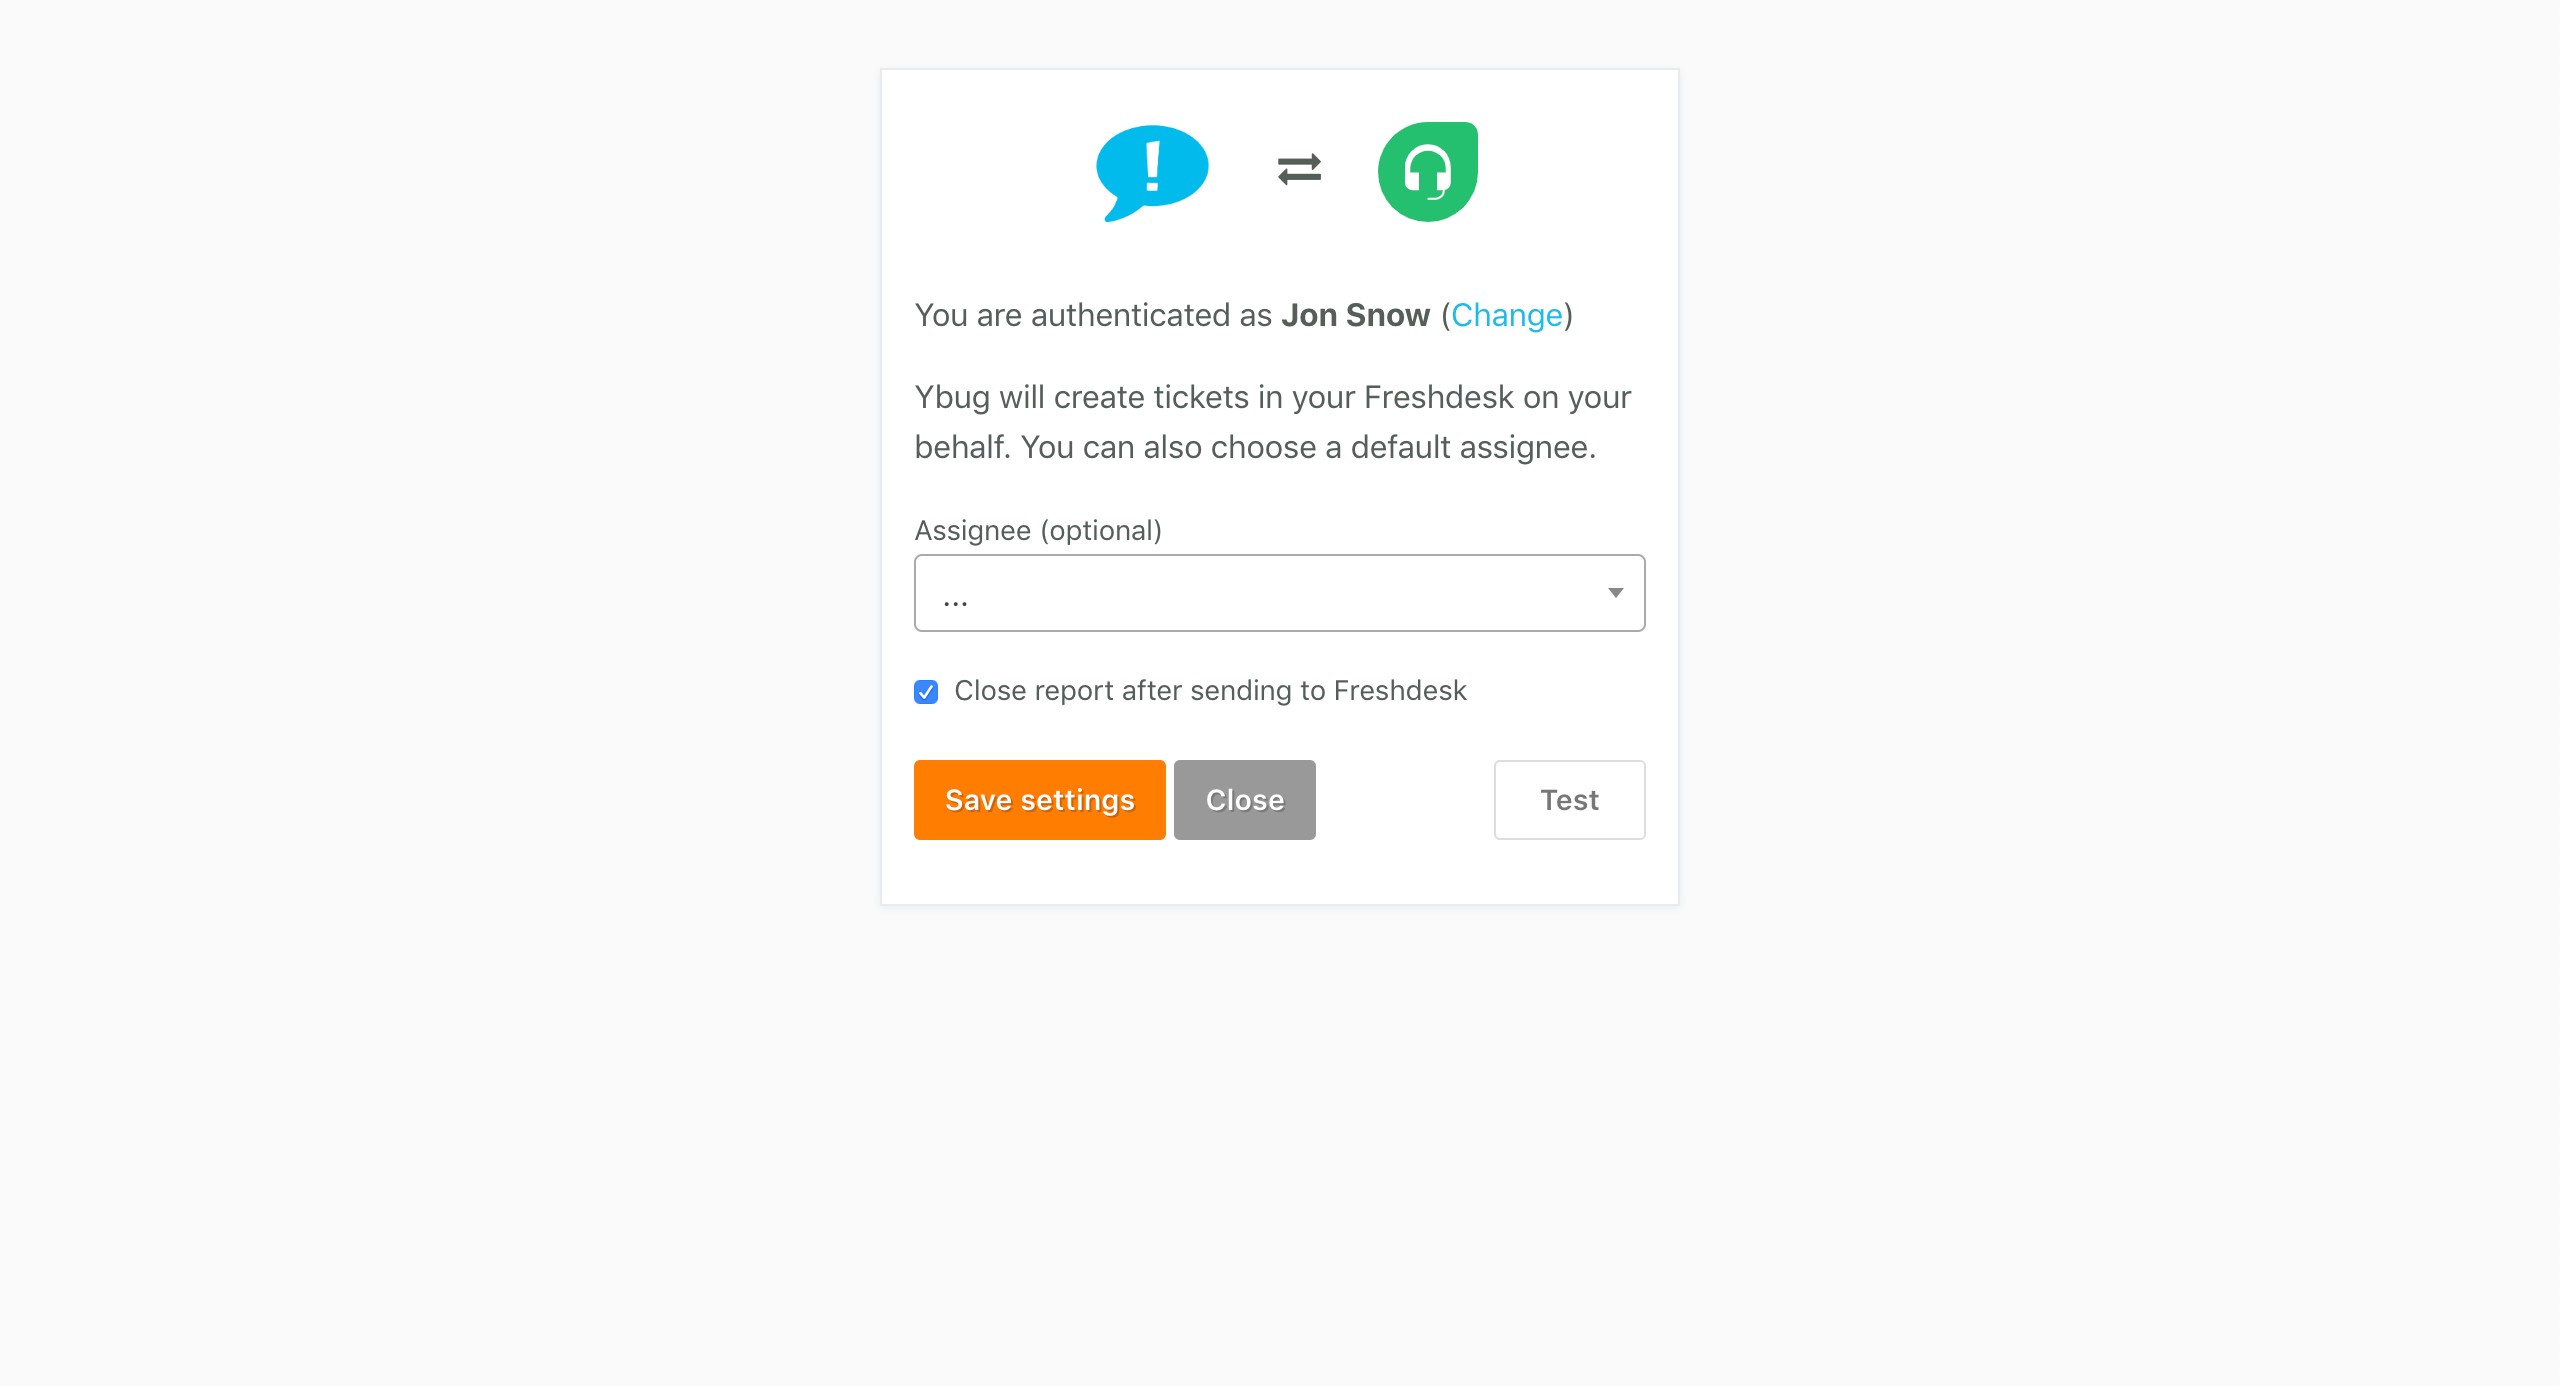
4. Choose default values for tickets, including the default assignee. Ybug will show you the ticket fields Freshdesk expects (including required ones). For fields with choices, pick one from the dropdown.
5. Click the Save settings button. You can test the integration by clicking the Test button — Ybug will try to send a sample report using the settings from the form.
Important: keep the email field mandatory
Freshdesk requires an email address to create a ticket and link it to a requester. To ensure your feedback is delivered correctly, the email field in your Ybug widget must remain active and mandatory.
What we'll do
When you save your Freshdesk integration, we'll automatically set the email field to Required in your project settings for you.
What you need to check
If you've customized your widget, please ensure you haven't disabled the email field elsewhere:
- In the dashboard: Keep the email field enabled in your project's widget settings.
- In your code: If you're using the
ybug_settingssnippet, make sure you haven't setemail: false.
Without a valid email address, Freshdesk might reject the report and the integration won't work as expected. You can find more details on customizing form fields in our installation docs.