How to set up
Configuration is per-project in Ybug. To integrate your Ybug project with Redmine, go to your dashboard and follow these simple steps:
Get your Redmine API key
Most of the time, the Redmine API requires authentication. First of all, ensure that the REST API is enabled in Administration -> Settings -> API. Then you can find your API key on your account page ( /my/account ) when logged in, on the right-hand pane of the default layout.

Configure the integration
Navigate to your Ybug dashboard or to your project's settings page, and follow these simple steps:
1. Go to Integrations tab in your project settings.
2. Click the On/Off switch in the Redmine row.
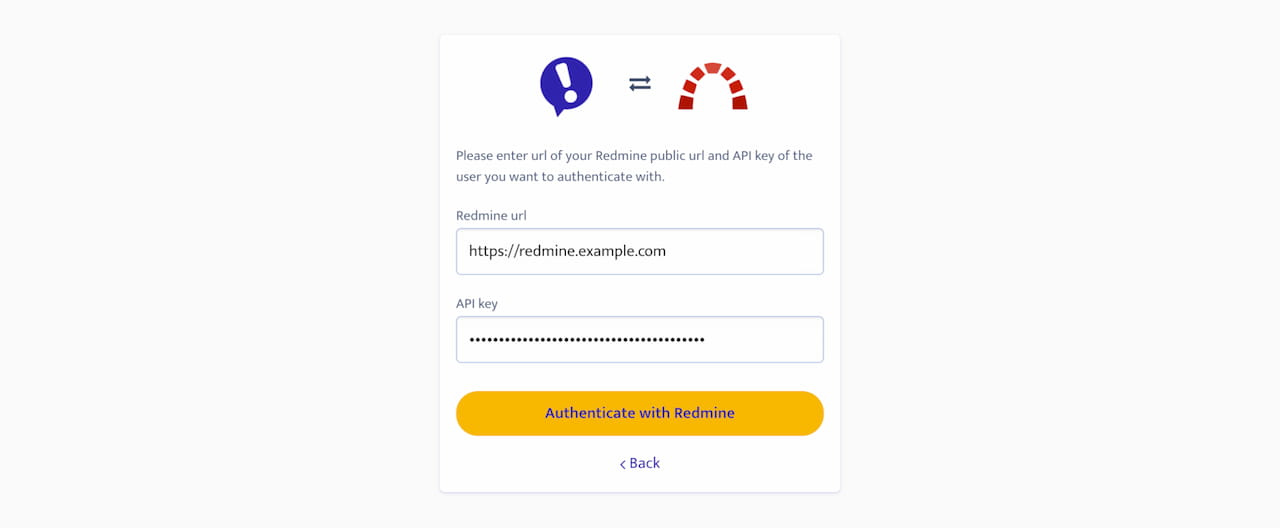
3. Fill your Redmine installation url, copy and paste your API key into API key field and click the "Authenticate with Redmine" button.

4. Choose a project, where you want new issues to be created. Optionally, you can also choose a default tracker and an assignee.

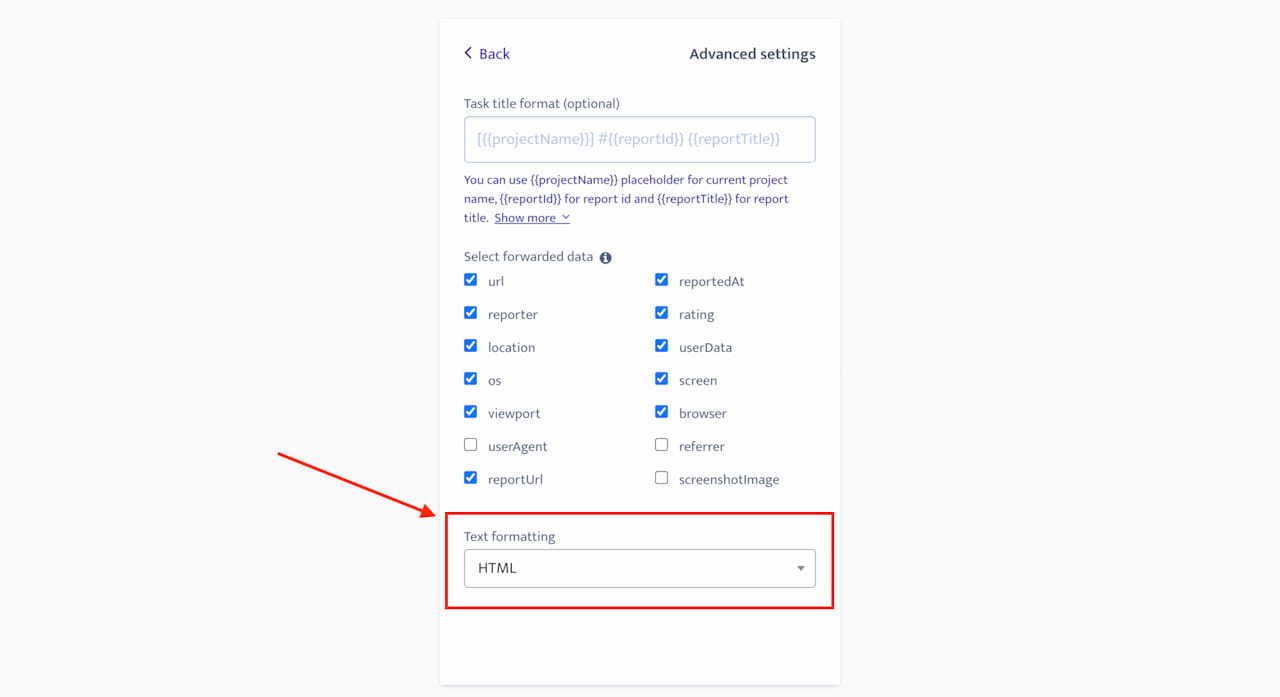
5. By default, the Ybug integration uses Textile formatting for issue descriptions. You can change it to Markdown or HTML formatting in the Advanced settings section. You can also change the Issue title format and what data will be forwarded to Redmine (please see our blog post about Advanced integration settings).
