How to annotate images: tools and step-by-step guide

What’s in this article
- Key takeaways
- What is image annotation?
- What are image annotations used for?
- How do you annotate an image in 3 steps?
- What are the best tools for annotating images?
- How does annotating an image differ from annotating a live website?
- How does image annotation fit into team feedback workflows?
- What are image annotation best practices?
- FAQ
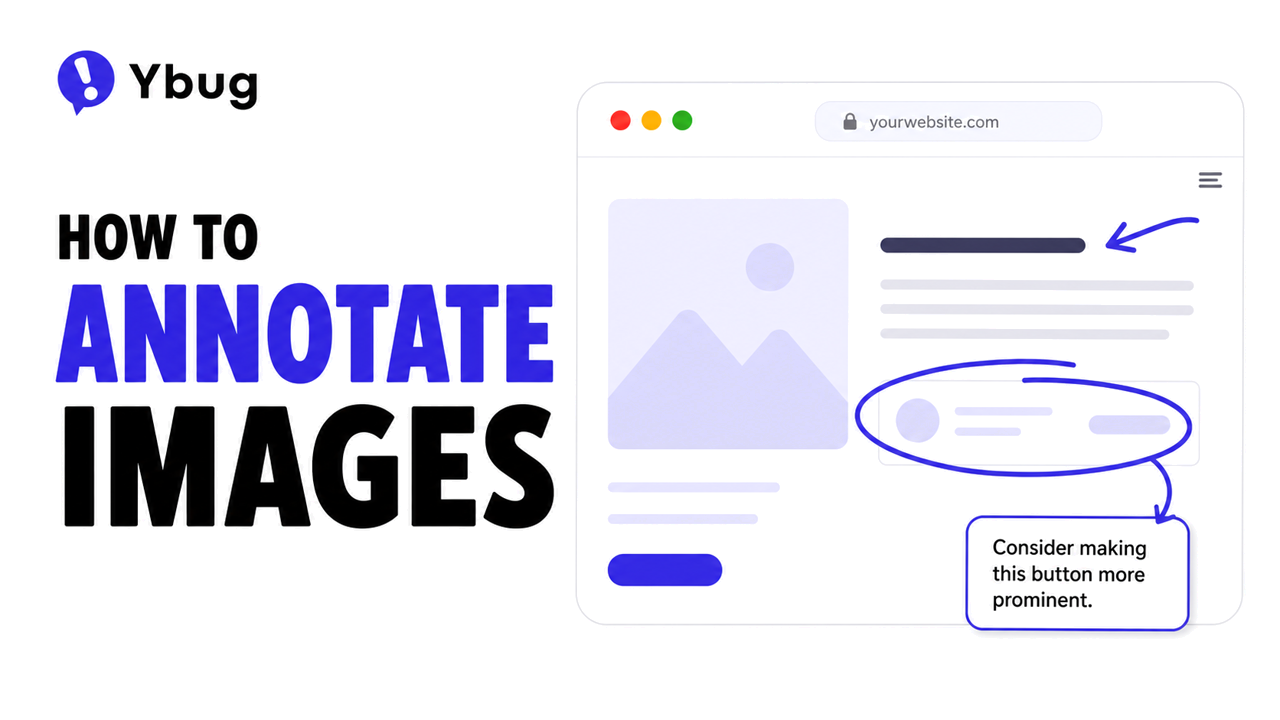
Image annotation is the process of adding visual markup such as arrows, boxes, highlights, and text notes directly on a static image, and its main advantage is that feedback stays tied to the exact element being discussed instead of getting lost in a separate message. Learning how to annotate images well is the difference between writing “the logo in the top section feels too small” and drawing a circle around the logo with a note that says “increase by 20%.”
This guide covers image annotation for design, QA, and development feedback — marking up screenshots and designs so teams can review and approve them. It is not about labeling images to train machine learning models, which is a separate field with its own tools.
Key takeaways
- Image annotation means adding visual markers such as arrows, shapes, text, and highlights directly on a static image so feedback stays connected to the exact element being discussed.
- The right tool depends on what you annotate: design files need markup precision, bug screenshots need automatic technical context, and video needs timestamped comments.
- For website and web app feedback, capture and annotate a fresh screenshot from the live page so the report reflects the current state instead of relying on an old export.
- Good annotation notes are specific and directive: they say what should change and why, not just that something is wrong.
- One feedback channel that captures visual markup and technical context removes a common bottleneck in design and QA review cycles.
Without a structured way to annotate images, feedback defaults to vague emails and descriptions. Reviewers describe what they see, recipients guess what they meant, and revision rounds multiply. Annotation closes that gap by putting feedback directly on the asset, in the right place, with enough context to act on immediately.
What is image annotation?
Image annotation is the practice of leaving contextual feedback directly on a static image without editing the original file. Annotations sit as an overlay: arrows pointing to specific elements, boxes circling problem areas, highlighted sections, sticky-note comments, or freehand drawing.
That separation is what makes annotation different from editing an image — the original asset and the feedback on it stay apart, so the reviewer’s intent stays visible and the source file stays clean.
Annotation is most useful when feedback needs to be precise and positional. Generic comments like “this needs work” require a follow-up conversation. An annotation pinned directly to the element in question needs no clarification because the visual reference does the explaining. This maps closely to a core usability principle described by the Nielsen Norman Group in its work on visibility of system status: clear, well-placed feedback reduces uncertainty and the back-and-forth it creates.
What are image annotations used for?
Design proofing. Before a design is approved, stakeholders review mockups, layouts, and visual assets. Annotating directly on the design rather than describing changes in an email makes feedback specific and removes ambiguity about which element is being discussed. For teams running a structured design review process, image annotation is often the primary feedback mechanism.
Bug documentation. When a tester or user hits a visual bug such as a misaligned button, an overlapping element, or a broken layout, annotating the screenshot with an arrow and a one-line description makes the bug report immediately actionable. A circled element with a note is faster to write and faster to act on than a paragraph of description.
Client review and sign-off. Agencies and freelancers use image annotation to collect structured feedback from clients on deliverables such as logos, mockups, marketing assets, and presentation slides.
Documentation and training materials. Annotated screenshots are common in how-to guides, onboarding materials, and internal documentation, highlighting specific UI elements, steps, or areas of focus within a static image.
How do you annotate an image in 3 steps?
The basic workflow is the same whether you are reviewing a design, documenting a bug, or preparing a how-to guide.
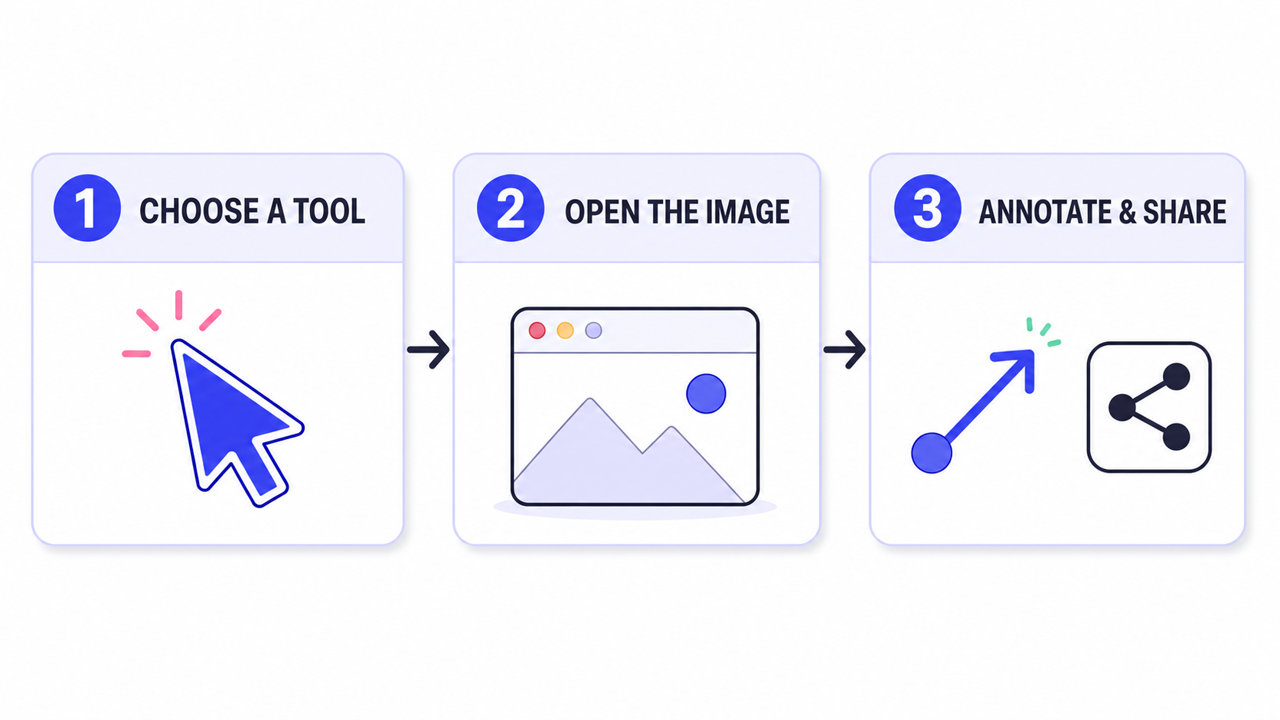
Step 1: Select your annotation tool
Select the tool that matches the use case. For one-off design feedback, a lightweight browser-based tool or a built-in OS tool is enough. For ongoing collaborative review, a dedicated tool with version history and comment threads is worth the setup.
Step 2: Open or capture the image
Open an image file directly, paste a screenshot from your clipboard, or capture the screen. Some tools pull from a URL or a connected design tool like Figma. One practical rule from QA teams: capture at the resolution you are testing at and do not resize before you annotate, or you risk misrepresenting spacing and alignment.
Step 3: Mark up and share
Use the markup tools — arrows, shapes, freehand drawing, text boxes, and highlighting — to mark the exact areas you are commenting on. Add a short note next to each annotation explaining what should change and why, then share it via a link, export, or direct notification.
How to write annotations developers and designers actually act on
A note such as “Make this bigger” is less useful than “Increase this to match the H2 size used elsewhere on the page.” Specificity is what separates feedback that gets acted on immediately from feedback that triggers a follow-up question. The Nielsen Norman Group’s guidance on getting helpful feedback reinforces this: the clearer you are about what you need, the more useful the response becomes.
Write notes that define the change:
- Do not: “This button looks off.” It is vague and forces a follow-up question.
- Do not: “Make the logo bigger.” It does not say by how much or to what size.
- Do not: “It is broken.” It gives no expected state or technical detail.
- Do, for design: “Increase the logo to 180px wide so it lines up with the left edge of the container.”
- Do, for a bug report: “The Buy button overlaps the text below 768px. Expected: the two should stack vertically.”
Time-saver: when you capture and annotate a screenshot from a live page with a website feedback widget, you do not need to type out the resolution or browser. The tool attaches that technical context to the annotation for you.
Ybug captures a fresh screenshot from the current page, your annotations, and the technical context in one developer-ready report.
(no credit card needed)
What are the best tools for annotating images?
We have tested this workflow across design proofing, QA, and client sign-off, and the honest answer is that no single tool wins every use case. Here is how the common options compare.
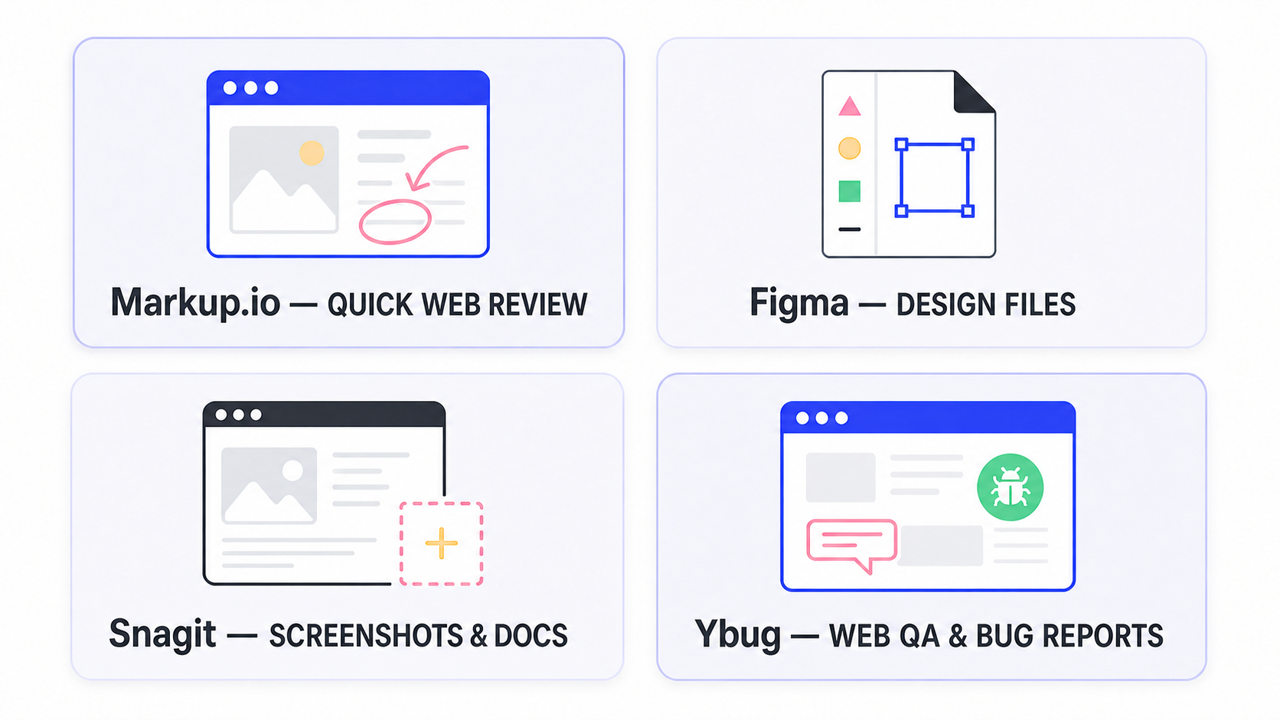
| Tool | Best for | Output / integrations | Notes |
|---|---|---|---|
| Markup.io / Pastel | Quick browser-based annotation | Public link, guest comments | No guest sign-up needed |
| Figma | Design files in progress | Native Figma ecosystem | Comments pinned to layers |
| Snagit / Greenshot | Local screenshots and docs | PNG/JPG export, local storage | Strong drawing tools for docs |
| Preview / Snip & Sketch | Simple one-off OS markup | Local file export | Built in, no install |
| Ybug | Live web bug reports and QA | Jira, Slack, Trello, Linear, and JSON context | Automatically captures browser, OS, and console context |
For design and document review, a dedicated proofing tool with version comparison and structured approval flows is usually the better fit.
For bug reports and technical feedback on a website, the calculation changes. A static image annotation tool captures the visual markup but nothing about the technical environment: browser, OS, or console output. That is where Ybug differs. It captures a screenshot from the current live page, lets the reporter annotate that screenshot, and submits it with the technical context a developer needs to act on it.
Annotating a static image is half the job. The other half is making sure the person receiving the annotation has everything they need to act on it: which page it came from, what browser it was, and what the system looked like at that exact moment. A pretty annotation without that context still leaves a developer asking follow-up questions.
How does annotating an image differ from annotating a live website?
These two are often confused, but they solve different problems.
| Image annotation | Website annotation | |
|---|---|---|
| What is annotated | A static file: screenshot, design export, or PDF | A screenshot captured from the current page in a browser |
| Source state | Can become outdated when the source changes | Captured from the current page state when submitted |
| Technical context | Manual: reviewer describes browser and OS | Automatic: captured by the tool at submission |
| Best for | Design files, exported assets, and documentation | Bug reports, QA testing, and client review on staging |
If the thing you are reviewing exists as a live, interactive page, capture the current page state and annotate that screenshot directly. See our guide on how to annotate a website for that workflow. Use image annotation specifically for static assets such as exported designs, PDFs, presentation slides, or screenshots that do not correspond to a live, reviewable URL.
How does image annotation fit into team feedback workflows?
Image annotation rarely happens in isolation. It is one step in a review cycle involving multiple people, and each role cares about something different.
For internal design reviews, tools that integrate with your design software, such as Figma comments, keep feedback close to the source file.
For client-facing reviews, the priority shifts toward accessibility. A common complaint from practitioners is that clients do not want to create an account just to leave one comment. Teams report clients abandoning feedback requests when a login stands in the way. Tools with guest access remove that friction and keep feedback from falling back to email.
For QA and bug documentation, the priority shifts again, toward completeness. An annotated screenshot without technical context such as the browser, OS, and console output is incomplete. This is where a dedicated website feedback tool installed on your site outperforms a standalone annotation tool: the context travels with the annotation automatically.
Project managers coordinating across these review types often use more than one tool: a proofing tool for creative review and a feedback widget for anything tied to a live website or app.
What are image annotation best practices?
Be specific, not just visual. A circle around an element without an explanation of what should change and why still requires a follow-up question. Pair every visual mark with a short, clear note. Combining a visual marker with a one-line description covers almost every feedback scenario, as this DEV Community guide to better bug reports points out.
One annotation, one issue. Avoid stacking multiple unrelated comments into a single annotation. Separate markups for separate issues make it easier for the recipient to address each one and mark it resolved independently.
Annotate the actual deliverable, not a low-resolution export. Annotating a compressed or resized screenshot can misrepresent spacing, alignment, or detail that matters to the final review.
Keep a record of resolved annotations. Most dedicated tools handle this with a resolve or reopen status. For ad-hoc tools, a shared checklist works.
Match the tool to the deliverable. A one-off annotation does not need a full proofing platform; a multi-stakeholder, multi-round review does. For teams also running user acceptance testing, combining a structured test plan with a current-page screenshot and annotation tool gives testers process guidance and a fast way to log findings.
Turn annotated screenshots into developer-ready reports, with the page, browser, and console context attached automatically.
(no credit card needed)
![Best design feedback tools for creative teams [2026]](https://ybug.io/images/blog/featured/best-design-feedback-tools.avif)