Appearance
Notion
Want the overview first? See the Notion integration overview.
How to set up
Configuration is per-project in Ybug. To integrate your Ybug project with Notion, go to your dashboard and follow these steps:
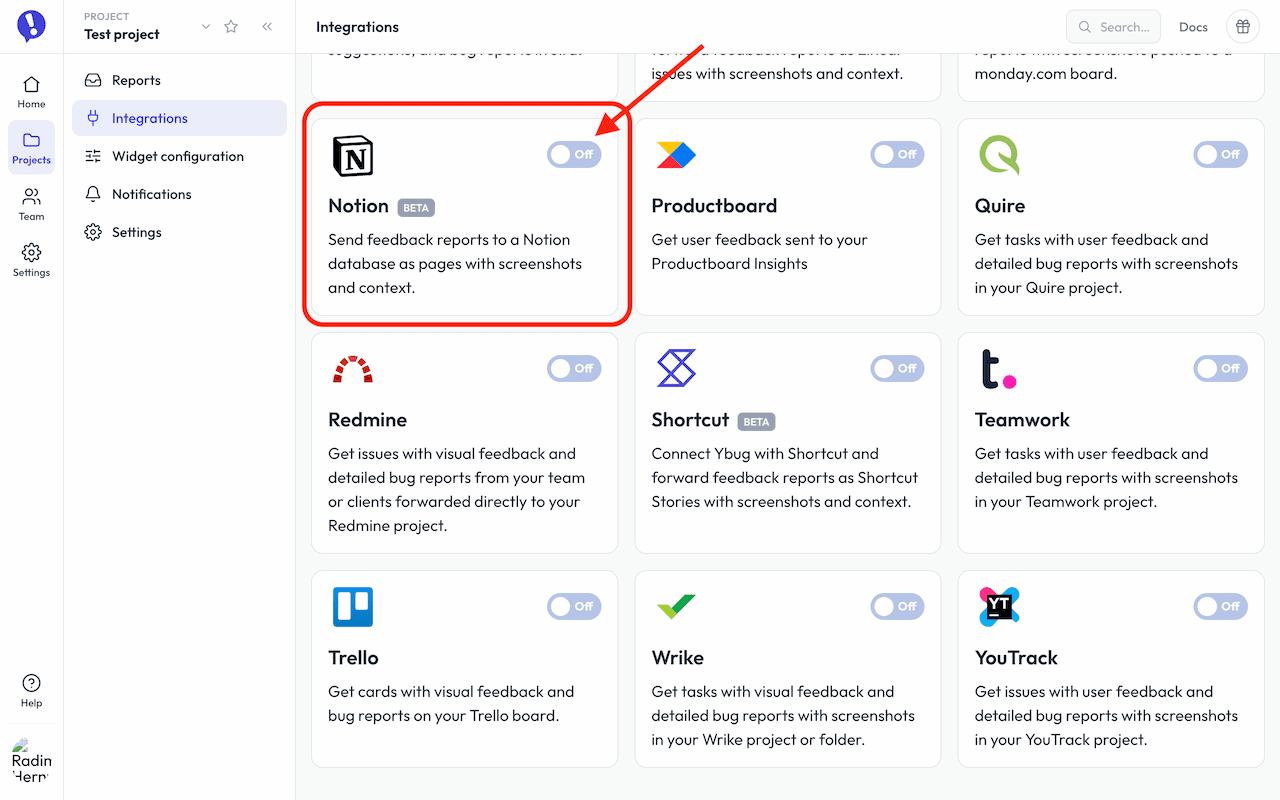
1. Go to the Integrations section in your project settings.

2. Click the On/Off switch in the Notion row.
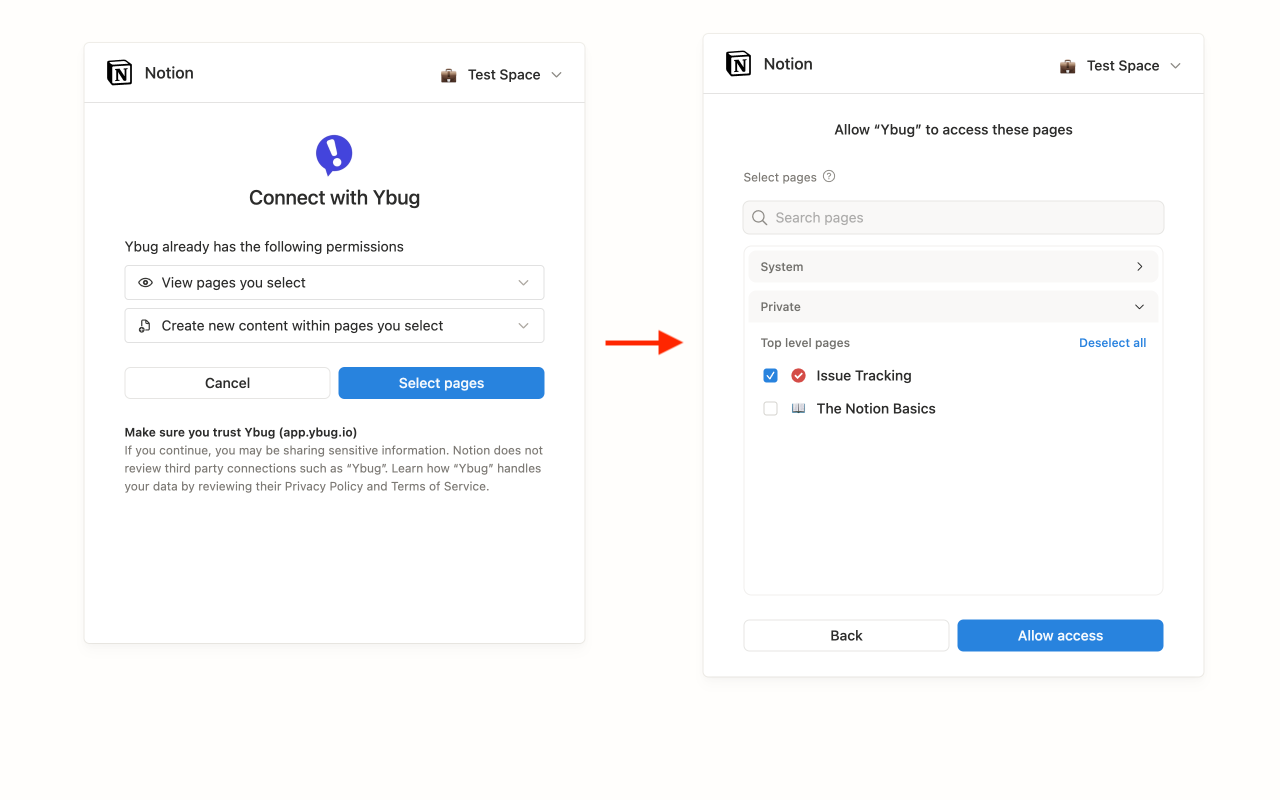
3. Authorize Ybug in Notion.
During authorization, choose the Notion workspace and the pages Ybug can access. Make sure the database where you want to create feedback pages is included in that access.
4. Choose the Notion database where new feedback pages should be created, then click the Save settings button. Use the Test button to test the connection.
Ybug can create feedback pages in any Notion database it has access to. For the cleanest workflow, choose an Issue tracking database or another database your team already uses for bugs, QA feedback, or product issues.

Ybug will create Notion pages in the selected database. Each page can include the reporter comment, browser details, source URL, screenshot and video links, attachments, console logs, and a link back to the original Ybug report.
Status, priority, and assignees
Ybug does not set Notion workflow fields such as status, priority, or assignee. Notion applies the defaults from your selected database, templates, views, and automations.
This keeps setup simple and avoids breaking the integration when the Notion database changes.